Monday, January 31, 2011

The Heartly Tutorial


Valentines day is not that huge in Australia but there is nothing wring with spreading a little love! Inspired by the amount of Valentines day love floating around the blogosphere at the moment I came up with this cute framed wall hanging that is super easy!

So here you have it the:

The Heartly Tutorial! 


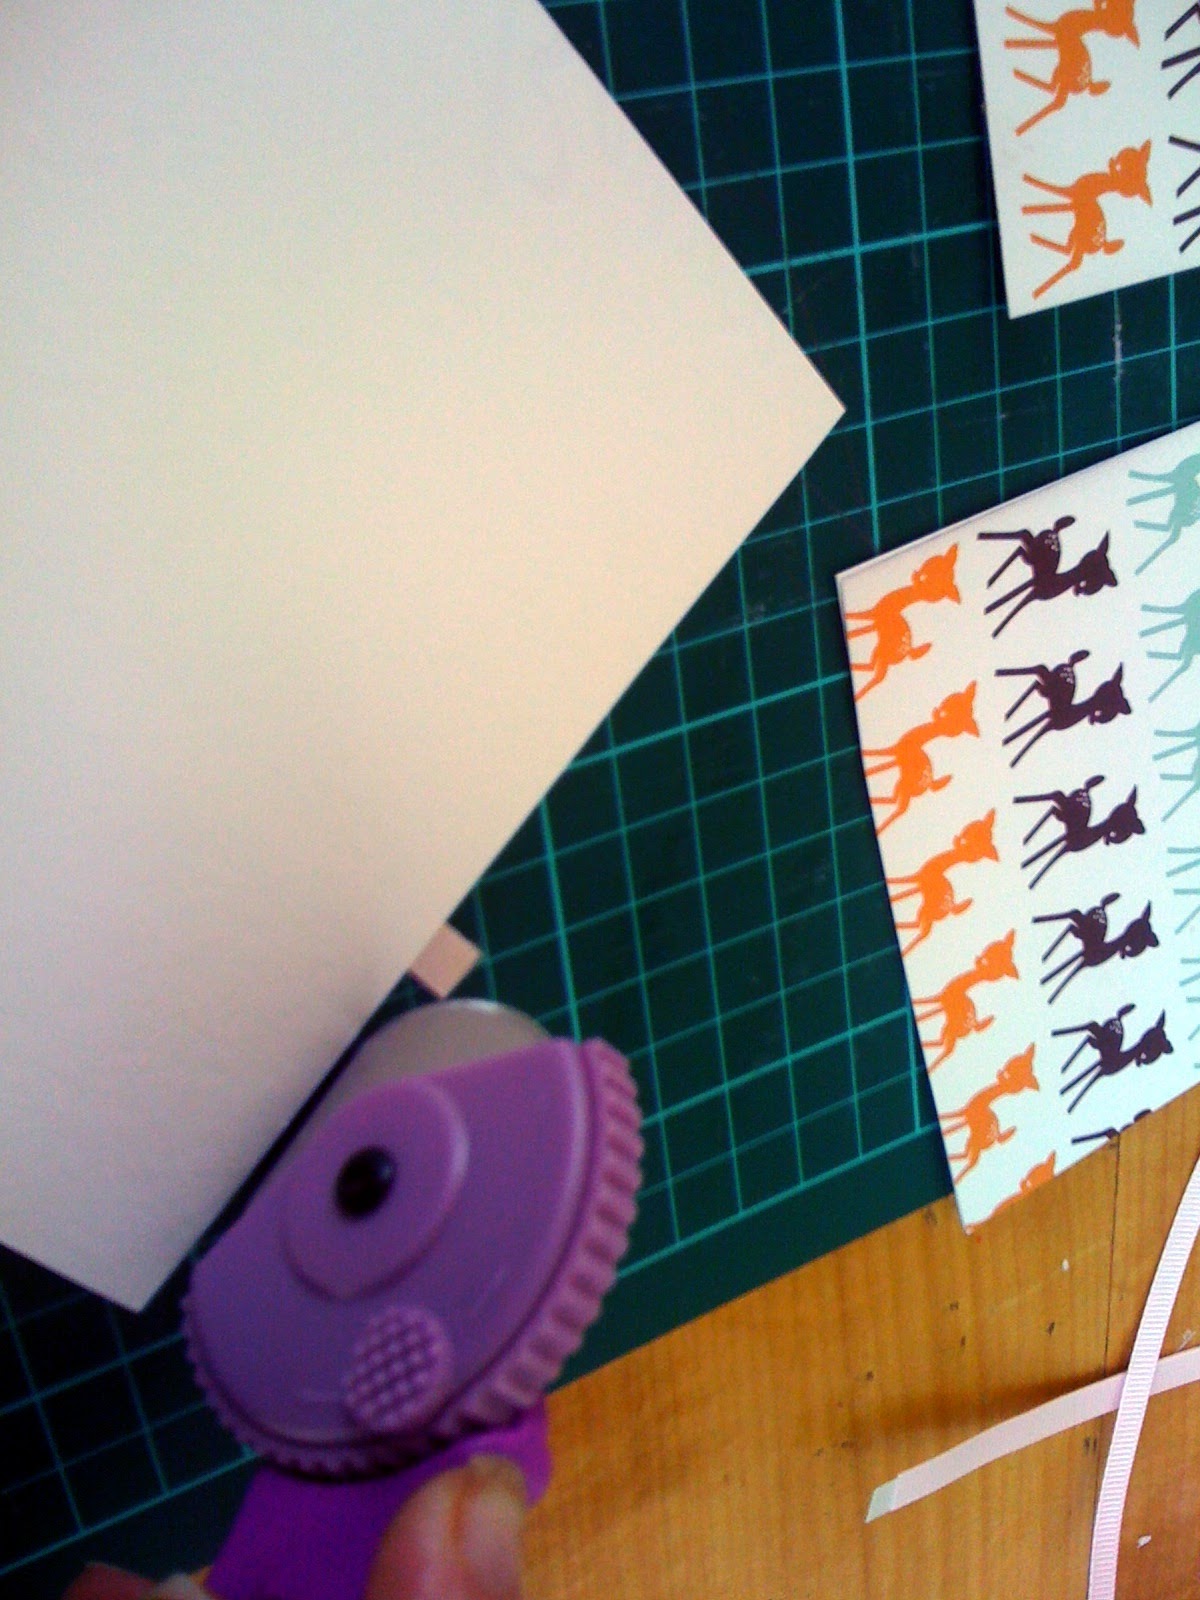
All you will need is your bucket of scrap fabrics, a rotary cutter and mat, a larger scrap of white fabric (I used some white on white patterned quilting cotton), a piece of pellon (a bit bigger than the mat of your frame), some vliesofix, about and hour and a half and a frame to put it in! 

Oh and if you want it to be the same size as mine - you will need the Heartly Template which you can find here.

1. First Grab your bucket of scrap fabrics and choose six  scraps that blend well together.


2.  Cut strips that measure approximately 2.5" x 8" from your 6 fabric scraps. I cut three strips from each fabric. Cut each of these strips in half lengthways so that they measure 2.5" x 4".


3. Sew your strips together - right sides facing - at the short ends.


4. Cut your sewn strips in half along the length of these strips. (In the direction of the arrows). you should end up with at least 12 skinny strips of pieced fabric.


5.  Arrange your strips so that they are staggered - see picture below - and are in an aesthetically pleasing arrangement. Sew together along the long side using a 1/8 " seam allowance. Pressing in between each strip. Don't worry about being too neat.


6.  Take your heart template (you can use the same one I did here - or make up your own size.) and lay it on your pieced fabric.


7. Pin and cut out around this template. Then cut a heart shape of the Vliesofix from the same template. Iron your Vliesofix heart to the back of your pieced heart.


8.  Then Iron your heart shape to the middle of your piece of while (or plain colored) fabric.


9. Machine applique around the outside of your heart shape. My favorite is blanket stitch. Give it all a good press with the iron.


10.  Take the Mat Board from your frame and lay out your appliqued heart fabric like in the picture below. Once you have it nicely centered, use some sticky tape to secure the edges. You may need to trim your white fabric to get a good fit.


11. Take your Pellon and lay it down over the back of your heart fabric. Again - stick the edges down to secure. Place the Mat Board into your frame and secure the back of the frame with the fasteners.


12.  Hang your framed Heartly somewhere that reminds you that there is love in your house everyday!

Pregnancy has it's down sides..

that is for sure.  Today is the 3rd day of leg cramp for me. That is despite taking magnesium supplements, using Magnesium phosphate topical cream and drinking lots of water. It is stopping me from sleeping - hence the posting in the middle of the night.


I also discovered last night that my tolerance for cutting out patterns has reduced by a very large amount in the past two weeks! I went to the local fabric store yesterday to buy some more Interlock to make a few more Nursing friendly nightdresses and thought that I would just get on with cutting them out. I washed the fabric as soon as I got home and as soon as the little one was in bed I set to cutting. I think one of the biggest problems was that I couldn't find my sewing scissors anywhere and I had to use the rotary cutter - which requires being at a certain angle. So there I was set up on the floor, surrounded by 2.5 Yds of difficult to fold stretch interlock in my 3rd trimester pregnant state trying to cut this pattern out 3 times as quickly as I could.


Add to that the 38 degree temperature here today (100.4F - Crazy!) and it just wasn't all that pleasant.

It is going to be another one of those days today so I am going to try my hardest to stay indoors in the air conditioning for the most of the day.

How is my Vintage pattern going? Some people might be wondering.

It sits on my bedside table daunting me right now. I think that part of me doesn't want to commit to the thinking involved in grading the pattern up a couple of sizes. I also don't really have any way of fitting it correctly and from what I can tell with some of these Vintage pattern muslin's that are coming through on the sew along the seem to often need some serious adjustments.

I seriously wish that plain poplin or Calico was cheaper than it is here in Australia so that I didn't feel like I was throwing money down the drain to make a muslin !

Thursday, January 27, 2011

Just Love a Bargain!

Don't you just love it when you have one of those *score* moments. Today I dropped in very briefly to the local St Vincents De Paul thrift shop for a quick look on my lunch break.

As always I has a little browse through the patterns and found this for the grand sum of 50c.


It is cut out in my non-pregnant size 12 and as far as I can tell all the pieces are there.

Sweet - as I normally suck at thrifting!

I have a pattern review and a Valentines day tutorial in the works but I"m not sure it will happen until next week as I am heading to Brisbane this weekend for a wedding.  Ahhh my hometown...oh how I love thee.

Wednesday, January 26, 2011

Make it Perfect - Sweet Dreams PJ's


After my dismal failure with the stretch sewing last night I am still thinking about all that and need to do a little more research. So today I moved on to the PJ pants.

As with all Make it Perfect patterns the instructions were clear and easy to follow and the sizing is fairly true.

I bought some pretty floral cottons, have some quilting cotton in my stash and discovered a stash of thrifted sheets that will make perfect PJ's.

Given the third trimester pregnancy status and the fact that I tend to have a bit of a tummy for a while after having a baby I chose to make the large.


I made one pair up in this size and before putting in the elastic tried them on for size. They fit - just - and I'm not really sure how the fit will change when I don't have a pregnant belly. The only part that concerned me was that they were a little tight through the seat - not so tight that I couldn't sit down - just tighter than you want a pair of PJ's to be. So I continued on and put the elastic in and decided that I would make another pair to try out an alteration for this tightness.

After a bit of research I discovered that adding some width to the outer leg seam should cover me for tightness across the front of the pants - the rear bottom part seemed fine as did the crotch length so I decided that it was the width that needed altering. As it turns out I was right - I added 5/8" to the outer leg seam of both the front and back pieces and sewed it together.

Fixed the problem and they are now much more comfortable.

I realise that when I am no longer pregnant these PJ's will probably be quite big on me - but I figure that it is much easier to take a pair of pants in to be smaller than it is to make them bigger - and we are going for comfort above all else here.

Now I have three more pairs to make up...

Posted @ My Creative Space - Here

Monday, January 24, 2011

Back to the sewing machine

I know it has been a week or so since I posted but I have been feeling a little overwhelmed with the amount of things going on at the moment and sewing was the last thing on my  mind.

However, as is very characteristic of me I have now gone to the other extreme and am on a bit of a sewing binge.

I started obsessively thinking this week about what I am going to wear when I am still in hospital after having the baby. Last time I was hopelessly under prepared in the way of pretty PJ's and nursing friendly access clothes - but hey H boy was my first and I really had no idea!

The jusry is quite split on weather or not to wear comfy street clothes, lounge clothes or PJ's in hospital. I was toying with the idea of yoga pants and nursing friendly tops - and I will probably still throw in a few of these. However, I ended up deciding on pretty PJ's - as I know that I'll get a lot of use out of them throughout winter.

So I began scouring the internet and this is what I came up with:
Megan Nielsen
Make it Perfect
I will combine the PJ pants with some purchased white nursing tops from Kmart (they are only $10 - I couldn't buy fabric for that price!). The pants don't really bother me - I have made many Make it Perfect patterns before and they always turn out well.

However after having a bit of a pattern drafting/cutting out session yesterday - 


I found some white cotton Lycra in the stash to have a play with the sleep bra pattern before I commit my pretty fabric. All I can say is it was a dismal fail and I think I need ALOT of work and practice sewing stretch before I get on with the night dress. Nothing like a challenge though hey!

I am also keeping track of what I spend on this little venture because I had contemplated just buying some pretty PJ's from Peter Alexander - but for what I have bought in material supplies and patterns ( A$85) I would have only been able to get 2 pairs of pants - pretty as they are, and they wouldn't have been made just for me.

For my A$85 I will get Four pairs of PJ pants and one nightdress. (Edit: Make that 5 pairs of PJ pants - I just found a cute old sheet in the cupboard that I am going to  have a play around with ...more info to come.)

Monday, January 17, 2011

Keep calm and....

I'm not going to post a pic of the iconic poster but let me just say that this morning I wish I could negate all parental responsibility and go here:


One of those days where I am counting down the minutes until the H boy falls asleep and I get two hours of undiluted peace.


xoxo

Friday, January 14, 2011

Pictures from my Garden

I work on my garden quite sporadically - it is quite nice - just needs a bit of reorganization here and there. A spot of light rain and good lighting conditions proved too hard to resist taking some pics.


Wednesday, January 12, 2011

Queensland Floods

http://www.abc.net.au/news/
While I live in Canberra now - I find it so surreal to see the city I grew up in underwater. I was born in Brisbane and lived there for 29 years and it is and always will be my home. I love that city so much that I do in fact dream about one day moving back there.

My friends and family are thankfully all in higher parts of Brisbane - as was our old home - but that doesn't take away from the devastation that these flood have and will continue to cause some families.

I feel quite helpless and wish that I could be there in person to help in some way. My obligations here prevent that unfortunately but we have donated money to the Flood Appeal - and you can too.

Just follow these links:

Donate to the Premier's Appeal - if you want to direct $$$$ directly then this is the best place to donate. Just go here and more information is here. 

There is also an Auction being run by Toni Coward of Make it Perfect fame - multiple talented deigners and crafters auctioning their goods. Go here if you want to see more.

These are just a few of the options available.


We are heading up to Brisbane in two weeks for a wedding (If it can still go ahead) and it will be so fascinating and saddening at the same time to witness the aftermath. 


Thank You Notecard Tutorial


 1. Choose a large piece of card, something that has a nice weight and possibly a texture. The one I used had a linen style texture. You could also use smaller pieces of card if that is what you have to hand.  Using a rotary cutter and a quilting ruler, cut the card to your desired size. The finished size of my cards is 4" x 5". To achieve this I first cut long strips of 4" card.


2. Then, taking the long strips of 4" wide card, cut these into 5" long pieces.


3.  Then, taking the paper you have chosen (I used a scrap booking paper with a cute deer pattern), cut this into widths that are shorter than your 5" long card - I cut 3" strips. It helps if the paper you choose has a nice repeat to it - something with a defined place to cut. Then, do the same as you did with the card and cut the patterned paper into widths the same as your card (4" strip shown here).


4. You will now have your pieces of 5" x 4" card and your pieces of 4" x 3" patterned paper. Using a roll on craft glue (found in scrapbooking supply stores), carefully apply glue to all four corners of the rear side of the  patterned paper. Carefully align the edges of the paper with the edges of the card, then stick down. Don't worry if you have over hang on the patterned paper. You can trim this off later.

5.  Once you have finished sticking the pattered pieces to the card, go through and carefully trim off any overhanging paper. Have a look at the rear side of each card to check this. Use your rotary cutter, ruler and cutting mat to achieve a clean edge. (Sorry about no pictures for these steps - camera battery died)

6. Take your alphabet stamp set and stamp your message onto the top part of the front of the card. I approached this by stamping one letter at a time until I finished my two words. I lined all of the cards up on the table and applied the stamp to one card at a time. They won't all look exactly the same - but that is what makes them personalized. Ensure that you leave enough space between the pattered paper and the stamped words to apply a piece of 1/2" ribbon width-ways.


7. You should now have a set of cards, stamped with your thank you message. Measure the width of the card and cut a piece of ribbon 1/4" longer than the width on both sides. Take some double sided tape that is slightly thinner than the ribbon and apply your strips of ribbon to the sticky side of the double sided tape. Ensure that the ribbon covers the tape entirely (i.e. there is no over hang on the width of the ribbon). Leave a small space between each piece of ribbon on the double sided tape. Cut the pieces of ribbon again in the spaces that you left on the double sided tape. You should end up with the same number of ribbon pieces stuck to double sided tape as you have cards.


8. Peel the paper off your double-sided tape and stick your ribbon along the top of the piece of patterned paper. Just slightly covering the top edge of the paper. There should be some overhang of ribbon on each side.


9. Taking your rotary cutter again, carefully trip the overhang from each side of the card. Do this from the reverse side of the card. As you are doing this step, do a final quality assurance check on the edges of the card and ensure you are happy. Trim any mismatched edges.


10. There you have it - your own set of personalized Thank You Notecards. You are now totally prepared for when you receive that unexpected dinner party invite or extra thoughtful gift. Simple write a note of the back and pop it in a nice crisp envelope (available at stationary supply stores).


Monday, January 10, 2011

Jam making adventures


I have never made jam before - but we do have a very productive Plum tree which is just heaving with rapidly ripening fruit right now. Last year was the first year we had lived here that I thought I would have a go at jam making - but then we had very little fruit on the tree.

So when my friend offered to give me a jam making lesson I jumped at the chance.

I spent yesterday morning in intensive lesson mode and then went home and chopped fruit.


and this morning in Jam making mode. It was surprisingly easy - except I am especially  grateful for the lesson. It was good to have visual clues as to what I should be looking for.

Cooking...

  still cooking...


and then there was Jam!

Very rewarding!

Sunday, January 9, 2011

Obsessed with the House Dress

Ever since stumbling across this post and then subsequently this post I have become a little obsessed with the idea of the House Dress. It is just so 1950's chic and I am going to make some for next summer - and maybe even this winter.

Gertie from Gertie's New Blog for Better Sewing did a great post on the History of the House dress - with some great vintage patterns.

I have read them described as " a garment with a multi-sided identity: a uniform for housework, a light dress for the summer, daily wear for women in rural families, and also a staple item in the collections of many fashion designers". There is even a book available dedicated to the topic.

Ralph Lauren Spring 2010
 The whole concept just screams 'Ease and comfort' to me - and with a new born as well as a 2 year old - I think I will be needing that. So these are some of the patterns I have in mind - of course I want mine to have a modern take - there will be no sacks here!


This New look pattern has a number of different combinations that would work well - I particularly like the plaid version in the pattern pic (as a bonus - I already own this pattern).


I live view C in this one.


The long sleeve version for winter.

Vogue V8511

Vogue 8409


Vogue v8577

This last one I really like but I think would need some alterations - the capped sleeve doesn't generally do much for me.


There are probably more out there but I am lacking in motivation right now - I think I (or perhaps the baby) need some food!

Saturday, January 8, 2011

Orange Fizz

The February edition of Australian Vogue says that Orange is a big color for Spring/Summer 2011. I 'm not really one for following Fashion trends BUT I am loving Orange home accents at the moment!

Source

Source

Source
Source


(Loving the Lime in combination also - but best to not get too carried away!)

AND I just found this cute blog ALL about color here is the link to the ORANGE pages

xo