Showing posts with label Tutorials. Show all posts

Monday, January 31, 2011

The Heartly Tutorial


Valentines day is not that huge in Australia but there is nothing wring with spreading a little love! Inspired by the amount of Valentines day love floating around the blogosphere at the moment I came up with this cute framed wall hanging that is super easy!

So here you have it the:

The Heartly Tutorial! 


All you will need is your bucket of scrap fabrics, a rotary cutter and mat, a larger scrap of white fabric (I used some white on white patterned quilting cotton), a piece of pellon (a bit bigger than the mat of your frame), some vliesofix, about and hour and a half and a frame to put it in! 

Oh and if you want it to be the same size as mine - you will need the Heartly Template which you can find here.

1. First Grab your bucket of scrap fabrics and choose six  scraps that blend well together.


2.  Cut strips that measure approximately 2.5" x 8" from your 6 fabric scraps. I cut three strips from each fabric. Cut each of these strips in half lengthways so that they measure 2.5" x 4".


3. Sew your strips together - right sides facing - at the short ends.


4. Cut your sewn strips in half along the length of these strips. (In the direction of the arrows). you should end up with at least 12 skinny strips of pieced fabric.


5.  Arrange your strips so that they are staggered - see picture below - and are in an aesthetically pleasing arrangement. Sew together along the long side using a 1/8 " seam allowance. Pressing in between each strip. Don't worry about being too neat.


6.  Take your heart template (you can use the same one I did here - or make up your own size.) and lay it on your pieced fabric.


7. Pin and cut out around this template. Then cut a heart shape of the Vliesofix from the same template. Iron your Vliesofix heart to the back of your pieced heart.


8.  Then Iron your heart shape to the middle of your piece of while (or plain colored) fabric.


9. Machine applique around the outside of your heart shape. My favorite is blanket stitch. Give it all a good press with the iron.


10.  Take the Mat Board from your frame and lay out your appliqued heart fabric like in the picture below. Once you have it nicely centered, use some sticky tape to secure the edges. You may need to trim your white fabric to get a good fit.


11. Take your Pellon and lay it down over the back of your heart fabric. Again - stick the edges down to secure. Place the Mat Board into your frame and secure the back of the frame with the fasteners.


12.  Hang your framed Heartly somewhere that reminds you that there is love in your house everyday!

Wednesday, January 12, 2011

Thank You Notecard Tutorial


 1. Choose a large piece of card, something that has a nice weight and possibly a texture. The one I used had a linen style texture. You could also use smaller pieces of card if that is what you have to hand.  Using a rotary cutter and a quilting ruler, cut the card to your desired size. The finished size of my cards is 4" x 5". To achieve this I first cut long strips of 4" card.


2. Then, taking the long strips of 4" wide card, cut these into 5" long pieces.


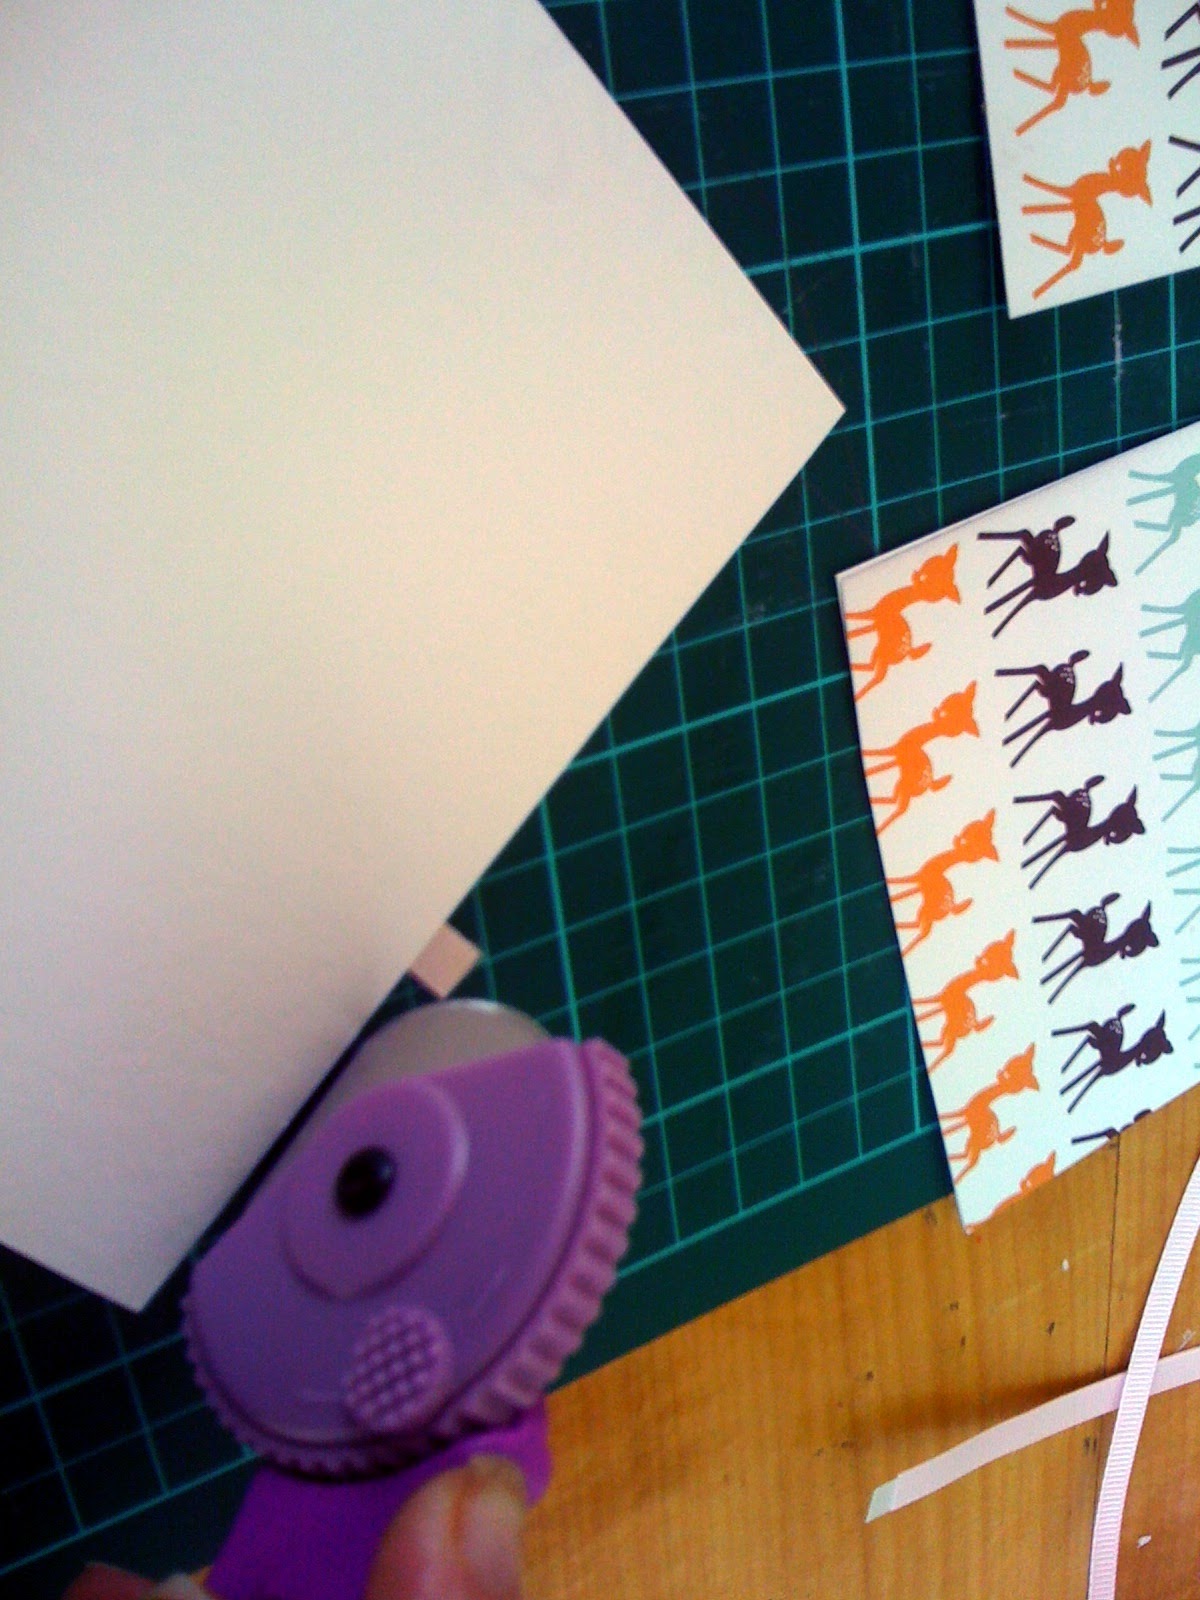
3.  Then, taking the paper you have chosen (I used a scrap booking paper with a cute deer pattern), cut this into widths that are shorter than your 5" long card - I cut 3" strips. It helps if the paper you choose has a nice repeat to it - something with a defined place to cut. Then, do the same as you did with the card and cut the patterned paper into widths the same as your card (4" strip shown here).


4. You will now have your pieces of 5" x 4" card and your pieces of 4" x 3" patterned paper. Using a roll on craft glue (found in scrapbooking supply stores), carefully apply glue to all four corners of the rear side of the  patterned paper. Carefully align the edges of the paper with the edges of the card, then stick down. Don't worry if you have over hang on the patterned paper. You can trim this off later.

5.  Once you have finished sticking the pattered pieces to the card, go through and carefully trim off any overhanging paper. Have a look at the rear side of each card to check this. Use your rotary cutter, ruler and cutting mat to achieve a clean edge. (Sorry about no pictures for these steps - camera battery died)

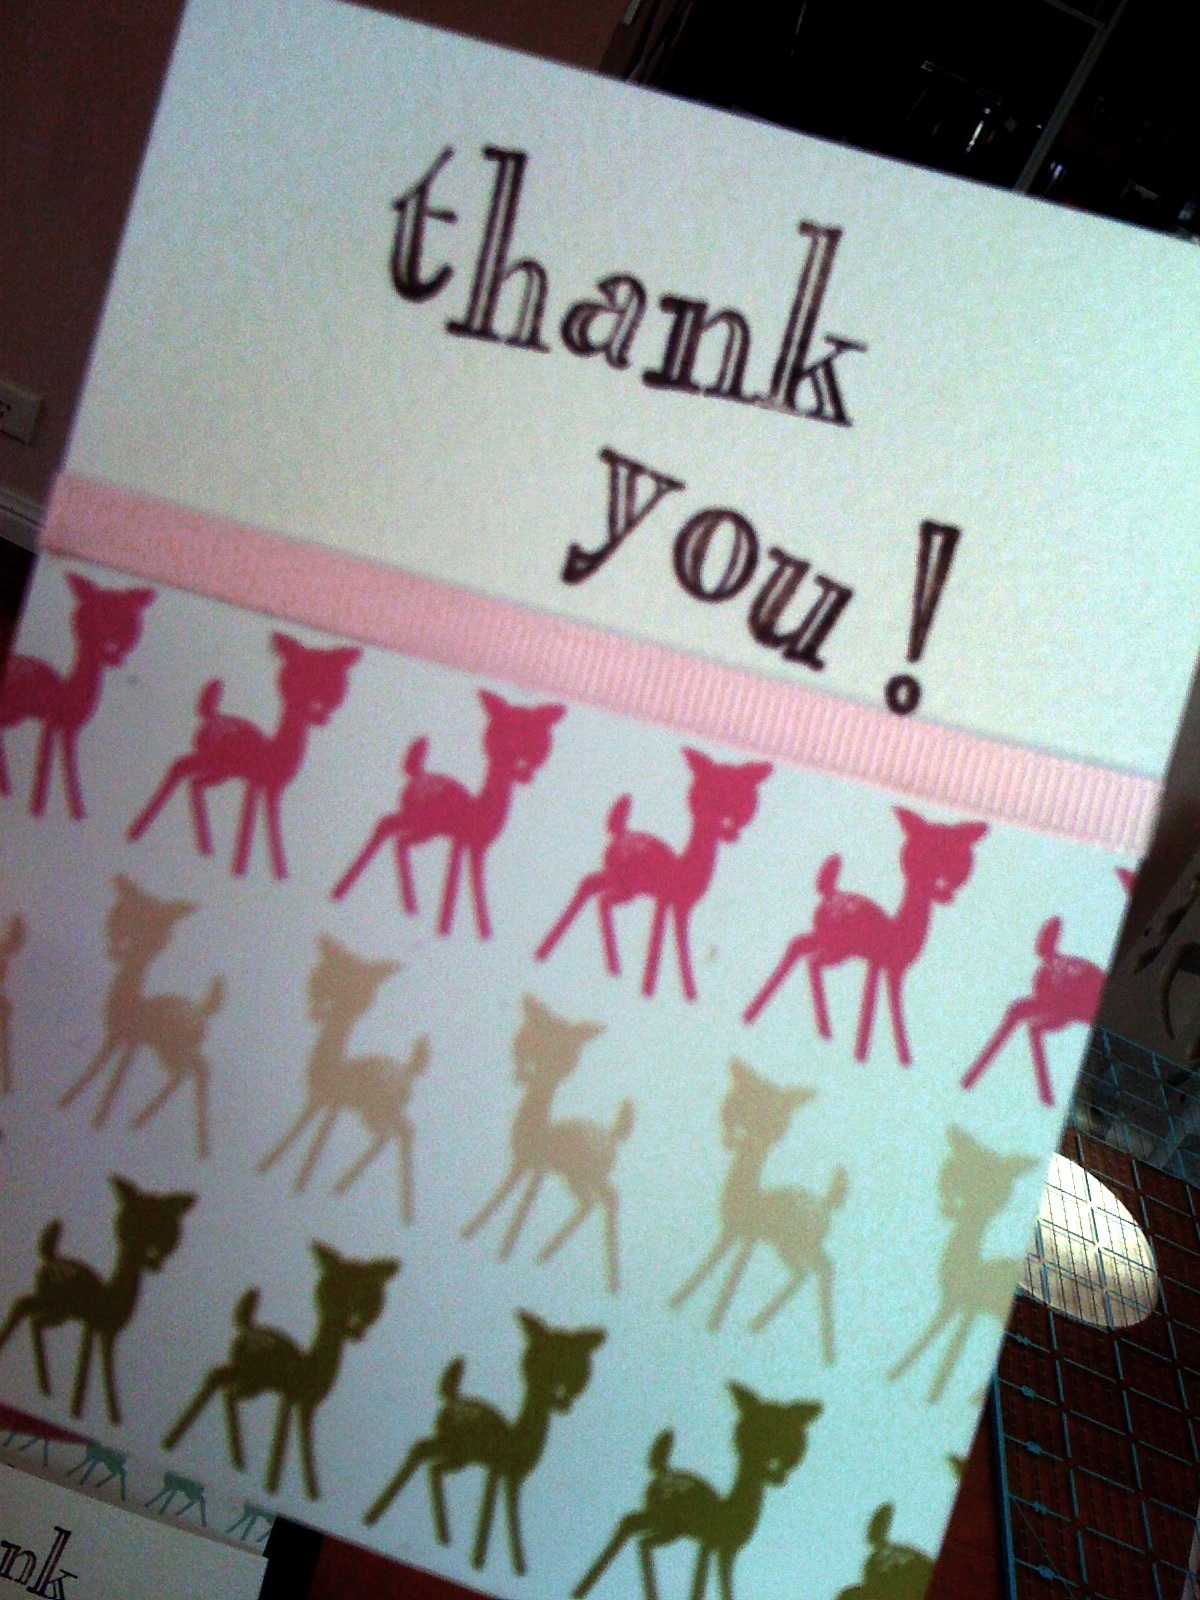
6. Take your alphabet stamp set and stamp your message onto the top part of the front of the card. I approached this by stamping one letter at a time until I finished my two words. I lined all of the cards up on the table and applied the stamp to one card at a time. They won't all look exactly the same - but that is what makes them personalized. Ensure that you leave enough space between the pattered paper and the stamped words to apply a piece of 1/2" ribbon width-ways.


7. You should now have a set of cards, stamped with your thank you message. Measure the width of the card and cut a piece of ribbon 1/4" longer than the width on both sides. Take some double sided tape that is slightly thinner than the ribbon and apply your strips of ribbon to the sticky side of the double sided tape. Ensure that the ribbon covers the tape entirely (i.e. there is no over hang on the width of the ribbon). Leave a small space between each piece of ribbon on the double sided tape. Cut the pieces of ribbon again in the spaces that you left on the double sided tape. You should end up with the same number of ribbon pieces stuck to double sided tape as you have cards.


8. Peel the paper off your double-sided tape and stick your ribbon along the top of the piece of patterned paper. Just slightly covering the top edge of the paper. There should be some overhang of ribbon on each side.


9. Taking your rotary cutter again, carefully trip the overhang from each side of the card. Do this from the reverse side of the card. As you are doing this step, do a final quality assurance check on the edges of the card and ensure you are happy. Trim any mismatched edges.


10. There you have it - your own set of personalized Thank You Notecards. You are now totally prepared for when you receive that unexpected dinner party invite or extra thoughtful gift. Simple write a note of the back and pop it in a nice crisp envelope (available at stationary supply stores).