Wednesday, January 12, 2011
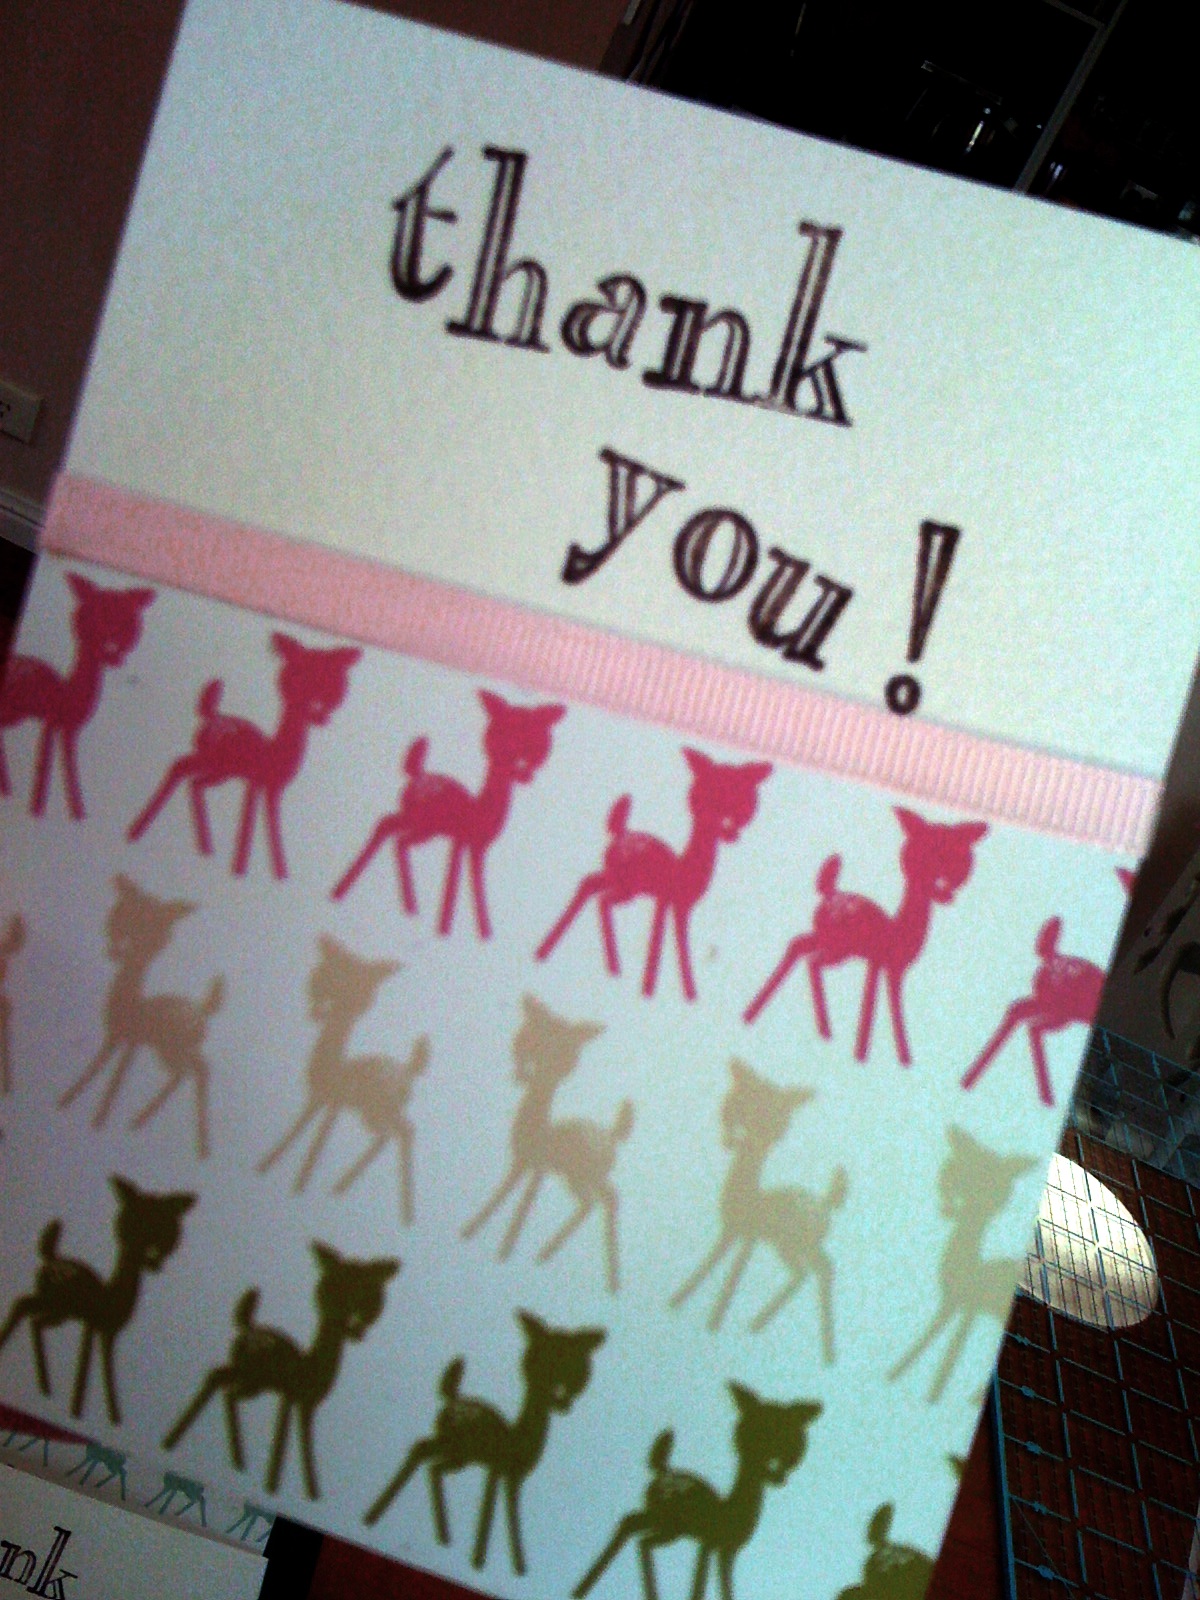
Thank You Notecard Tutorial
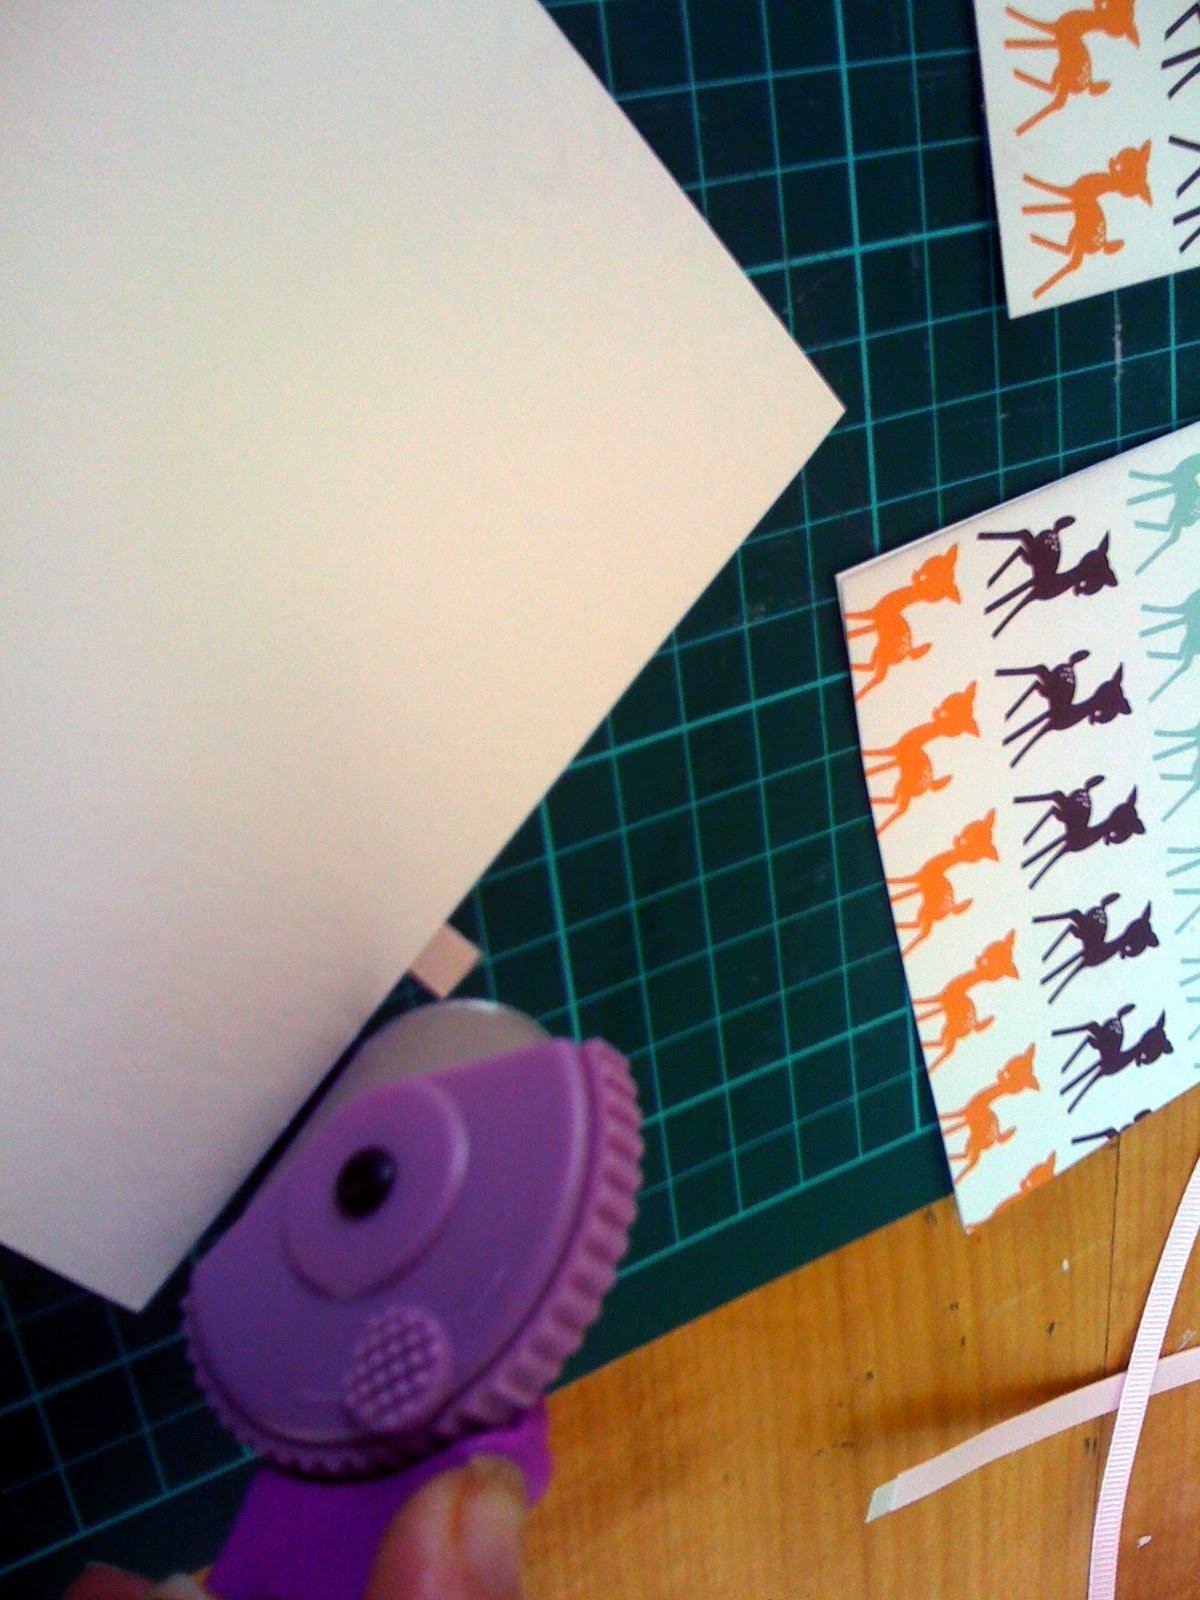
1. Choose a large piece of card, something that has a nice weight and possibly a texture. The one I used had a linen style texture. You could also use smaller pieces of card if that is what you have to hand. Using a rotary cutter and a quilting ruler, cut the card to your desired size. The finished size of my cards is 4" x 5". To achieve this I first cut long strips of 4" card.
2. Then, taking the long strips of 4" wide card, cut these into 5" long pieces.
3. Then, taking the paper you have chosen (I used a scrap booking paper with a cute deer pattern), cut this into widths that are shorter than your 5" long card - I cut 3" strips. It helps if the paper you choose has a nice repeat to it - something with a defined place to cut. Then, do the same as you did with the card and cut the patterned paper into widths the same as your card (4" strip shown here).
4. You will now have your pieces of 5" x 4" card and your pieces of 4" x 3" patterned paper. Using a roll on craft glue (found in scrapbooking supply stores), carefully apply glue to all four corners of the rear side of the patterned paper. Carefully align the edges of the paper with the edges of the card, then stick down. Don't worry if you have over hang on the patterned paper. You can trim this off later.
5. Once you have finished sticking the pattered pieces to the card, go through and carefully trim off any overhanging paper. Have a look at the rear side of each card to check this. Use your rotary cutter, ruler and cutting mat to achieve a clean edge. (Sorry about no pictures for these steps - camera battery died)
6. Take your alphabet stamp set and stamp your message onto the top part of the front of the card. I approached this by stamping one letter at a time until I finished my two words. I lined all of the cards up on the table and applied the stamp to one card at a time. They won't all look exactly the same - but that is what makes them personalized. Ensure that you leave enough space between the pattered paper and the stamped words to apply a piece of 1/2" ribbon width-ways.
7. You should now have a set of cards, stamped with your thank you message. Measure the width of the card and cut a piece of ribbon 1/4" longer than the width on both sides. Take some double sided tape that is slightly thinner than the ribbon and apply your strips of ribbon to the sticky side of the double sided tape. Ensure that the ribbon covers the tape entirely (i.e. there is no over hang on the width of the ribbon). Leave a small space between each piece of ribbon on the double sided tape. Cut the pieces of ribbon again in the spaces that you left on the double sided tape. You should end up with the same number of ribbon pieces stuck to double sided tape as you have cards.
8. Peel the paper off your double-sided tape and stick your ribbon along the top of the piece of patterned paper. Just slightly covering the top edge of the paper. There should be some overhang of ribbon on each side.
9. Taking your rotary cutter again, carefully trip the overhang from each side of the card. Do this from the reverse side of the card. As you are doing this step, do a final quality assurance check on the edges of the card and ensure you are happy. Trim any mismatched edges.
10. There you have it - your own set of personalized Thank You Notecards. You are now totally prepared for when you receive that unexpected dinner party invite or extra thoughtful gift. Simple write a note of the back and pop it in a nice crisp envelope (available at stationary supply stores).
Monday, January 10, 2011
Jam making adventures
I have never made jam before - but we do have a very productive Plum tree which is just heaving with rapidly ripening fruit right now. Last year was the first year we had lived here that I thought I would have a go at jam making - but then we had very little fruit on the tree.
So when my friend offered to give me a jam making lesson I jumped at the chance.
I spent yesterday morning in intensive lesson mode and then went home and chopped fruit.
and this morning in Jam making mode. It was surprisingly easy - except I am especially grateful for the lesson. It was good to have visual clues as to what I should be looking for.
and then there was Jam!
Very rewarding!
So when my friend offered to give me a jam making lesson I jumped at the chance.
I spent yesterday morning in intensive lesson mode and then went home and chopped fruit.
and this morning in Jam making mode. It was surprisingly easy - except I am especially grateful for the lesson. It was good to have visual clues as to what I should be looking for.
| Cooking... |
| still cooking... |
and then there was Jam!
Very rewarding!
Sunday, January 9, 2011
Obsessed with the House Dress
Ever since stumbling across this post and then subsequently this post I have become a little obsessed with the idea of the House Dress. It is just so 1950's chic and I am going to make some for next summer - and maybe even this winter.
Gertie from Gertie's New Blog for Better Sewing did a great post on the History of the House dress - with some great vintage patterns.
I have read them described as " a garment with a multi-sided identity: a uniform for housework, a light dress for the summer, daily wear for women in rural families, and also a staple item in the collections of many fashion designers". There is even a book available dedicated to the topic.
The whole concept just screams 'Ease and comfort' to me - and with a new born as well as a 2 year old - I think I will be needing that. So these are some of the patterns I have in mind - of course I want mine to have a modern take - there will be no sacks here!
This New look pattern has a number of different combinations that would work well - I particularly like the plaid version in the pattern pic (as a bonus - I already own this pattern).
I live view C in this one.
The long sleeve version for winter.
This last one I really like but I think would need some alterations - the capped sleeve doesn't generally do much for me.
There are probably more out there but I am lacking in motivation right now - I think I (or perhaps the baby) need some food!
Gertie from Gertie's New Blog for Better Sewing did a great post on the History of the House dress - with some great vintage patterns.
I have read them described as " a garment with a multi-sided identity: a uniform for housework, a light dress for the summer, daily wear for women in rural families, and also a staple item in the collections of many fashion designers". There is even a book available dedicated to the topic.
![]() |
| Ralph Lauren Spring 2010 |
This New look pattern has a number of different combinations that would work well - I particularly like the plaid version in the pattern pic (as a bonus - I already own this pattern).
I live view C in this one.
The long sleeve version for winter.
![]() |
| Vogue V8511 |
![]() | |||||
| Vogue 8409 |
![]() |
| Vogue v8577 |
This last one I really like but I think would need some alterations - the capped sleeve doesn't generally do much for me.
There are probably more out there but I am lacking in motivation right now - I think I (or perhaps the baby) need some food!
Saturday, January 8, 2011
Orange Fizz
The February edition of Australian Vogue says that Orange is a big color for Spring/Summer 2011. I 'm not really one for following Fashion trends BUT I am loving Orange home accents at the moment!
(Loving the Lime in combination also - but best to not get too carried away!)
AND I just found this cute blog ALL about color here is the link to the ORANGE pages
xo
![]() |
| Source |
![]() |
| Source |
![]() |
| Source |
| Source |
(Loving the Lime in combination also - but best to not get too carried away!)
AND I just found this cute blog ALL about color here is the link to the ORANGE pages
xo
Tuesday, January 4, 2011
A Beautiful Home - The Kitchen
I want a beautiful home I really do. I feel like I am always spending money on little touches here and there and never really getting very far at all. We purchased our home in 2009 and it needed a lot of work. In that time we have done a little bit but really not all that much.
This year we are planning on knocking out some walls and putting in a new kitchen - after I have had the baby and can project manage. We have to have some design plans drawn up first as we are planning an extension in the future and the location of the extension may impact our renovation plans so it all needs to be taken into consideration.
I would love to share my thoughts and inspiration on our home renovation as we go along. I find that I have a very cluttered head when it comes to interior design. I tear many many pages from magazines - but then I think I get disheartened when the small things I do to make myself feel better about the current awfulness of our home don't work out all that well.
But I think that one room at a time, slowly slowly we will get there - perhaps I need to make it my project for the next 5 years?
But for now I will try and dedicate one post a week to sharing inspirational pictures I have come across on the net. At least then if I never get around to putting them into my inspiration book - at least I will have some all together in one place!
This year we are planning on knocking out some walls and putting in a new kitchen - after I have had the baby and can project manage. We have to have some design plans drawn up first as we are planning an extension in the future and the location of the extension may impact our renovation plans so it all needs to be taken into consideration.
I would love to share my thoughts and inspiration on our home renovation as we go along. I find that I have a very cluttered head when it comes to interior design. I tear many many pages from magazines - but then I think I get disheartened when the small things I do to make myself feel better about the current awfulness of our home don't work out all that well.
But I think that one room at a time, slowly slowly we will get there - perhaps I need to make it my project for the next 5 years?
But for now I will try and dedicate one post a week to sharing inspirational pictures I have come across on the net. At least then if I never get around to putting them into my inspiration book - at least I will have some all together in one place!
We have some Boral Silkwood in Blackbutt as our flooring for the kitchen space - it is very similar to that in the pic above. I also have red accents (all of my appliances are red) and really want to keep this feel.
This pic is about equivalent to the space we have available and the layout is similar. I saved this picture for the large cupboards along the wall with the oven. We will have similar.
I really like the floor to ceiling cupboards - but I am yet to convince my husband! I also love the open cupboards on wither side of the range. We have our crockery in open shelving now and it works really well.
That is all I have for kitchens right now - but I am sure there will be more!
Monday, January 3, 2011
Here She is...
in all her polished cotton loveliness... I just couldn't take the risk of leaving it to fate and having her slip through my fingers. So now 2.5 m is mine - which hopefully is enough for the planned dress.
I am intending to make up a 'muslin' in this navy stretch poplin - not the standard muslin type fabric I know but I am kind of hoping that if the muslin turns out well I might be able to wear it too. I just couldn't justify paying $6.00AUS per meter for calico when the poplin was only $8.00. Plus the little bit of stretch in the poplin should mirror the 2% spandex in the dress fabric. I will also use the poplin to line another dress that I have in the pipeline - one that I will actually be able to wear now. I will share the details of that one in another post though.
I am excited about this project!
A couple of days ago I found myself with a clean house and nothing to do during nap time and I started flicking through this book:
I have made a number of things from this book - mostly things for H boy like toys - I find the patterns quite simple and a little frivolous. By that I mean mostly things I don't really need. However, I did need a new pouch to store all the things that float around in my handbag and I came across this and thought it quite cute:
| pictures sourced from Meet me at Mike's Book |
It took me some creativity with lightweight fusible interfacing as I only had that and it called for medium weight - so I just put in two layers of lightweight which gave it a nice firmness. It only took around 40 mins to make up and turned out really cute.
Saturday, January 1, 2011
Getting off to a Clean Start!
I am by no means a 'clean freak' - although I do like things to be tidy and ordered around the home. I find that spending a small amount of time on a routine of cleaning and tidying each day allows me to stay on top of things and stay cool calm and collected...most of the time!
I was unsure how to start off this blog about rediscovering my style, however in looking around the web for a cleaning and organisation checklist, I just couldn't find anything at all that jumped out at me and was well...stylish! So I decided to create my own 'Daily and Weekly Housekeeping Checklist' and I decided to share it with you! (Click here to Download!!)
You might wonder what a clean and tidy house has to do with style at all? Well apart from a sense of accomplishment and being able to wake up each morning without a feeling of dread in the pit of your stomach about what lies ahead - I think that it is more about allowing you to feel in control of your life to some degree - even when the family tries their best to tear this away from you.
Knowing that you have done these small things each day and week clears your mind of the clutter that thinking about chores can sometimes create. It gives you that extra 5 minutes to
I know only too well that commencing upon a new habit can be daunting and feel like a chore in itself. But...as I hope you will find... once these small things become committed to memory and become part of your day, you will find yourself just doing them without even thinking about it.
I don't make a concentrated effort to get everything done either, I just do things as I happen to be near that spot and with 5 minutes to spare throughout the day. For example - I often will wipe down the bathroom sink with my little one is in the bath playing.
Sometimes too all my organisation goes out the window for whatever reason and I go through a period of time where not very much at all gets done...it is at those times when I am feeling overwhelmed by the sheer weight of work ahead of me that I sit and think to myself 'What did I used to do that made it so easy?' and then the little light bulb goes off in my brain and I remember my daily and weekly organisation. Once I am back in the swing of things everything else seems to fall into place.
So I do hope that you enjoy your printable copy of my 'Daily and Weekly Housekeeping Checklist' - there is even space where you can add your own chores to the list.
| Click Here to Download Now! |
Subscribe to:
Posts (Atom)